#1 Low Carb & Keto Diet App Since 2010
Track macros, calories, and access top Keto recipes.


prep time

20 min
cook time
15 min
ready time
35 min
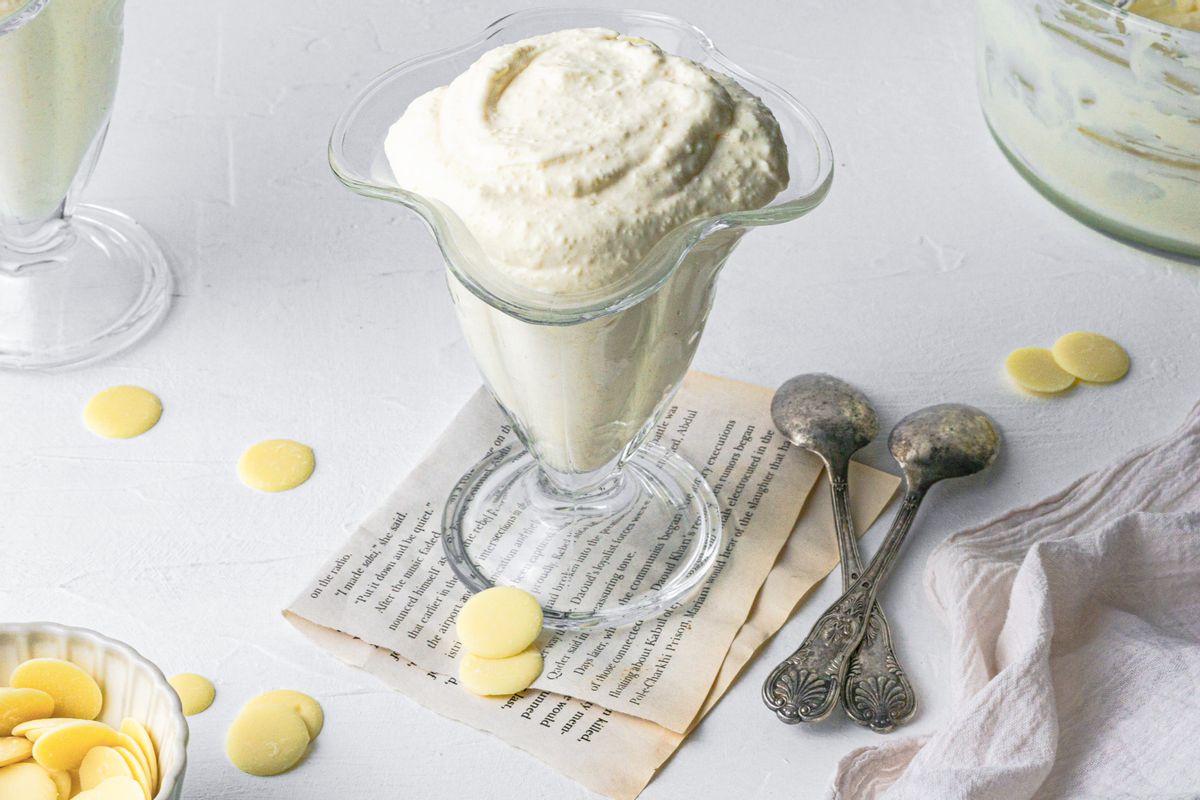
Keto Vanilla Pudding
As spring blooms with its vibrant colors and fresh scents, it's the perfect time to indulge in delightful Keto spring desserts. This white chocolate vanilla pudding offers a creamy and decadent treat that's perfect for celebrating the season. With its low-carb profile and luscious flavor, this Keto-friendly spring dessert is sure to satisfy your sweet cravings without derailing your diet. Treat yourself to the vibrant flavors of spring with these sweet Low-Carb desserts, designed to delight your taste buds without compromising your health goals.
How to substitute this recipe?
For a dairy-free option, substitute heavy cream with full-fat coconut milk. You can also experiment with different flavors by using flavored syrups or extracts, such as almond or coconut, instead of vanilla syrup. Additionally, if you prefer a sweeter taste, you can adjust the sweetness level by adding more zero-sugar syrup or sweetener of your choice.
Is boxed sugar-free pudding Keto?
While boxed sugar-free pudding may seem like a convenient option for those following a Keto diet, it's essential to check the ingredients carefully. Many commercially available sugar-free pudding mixes contain hidden carbs and artificial additives that may not align with Keto principles. Making your own pudding from scratch, like this white chocolate vanilla pudding recipe, allows you to control the ingredients and ensure that it's truly Low-Carb and Keto-friendly.
How to store this recipe?
To preserve the freshness and texture of this delicious pudding, proper storage is key. After preparing the pudding, cover it tightly with plastic wrap, ensuring that it touches the surface to prevent a film from forming. Store the pudding in the refrigerator for a minimum of 4 hours to allow it to set and firm up. Before serving, give the pudding a gentle stir or whip it with a hand mixer to make it light and airy. Leftovers can be stored in an airtight container in the refrigerator for up to 3-4 days, allowing you to enjoy this sweet keto dessert for spring whenever the craving strikes.
Net Carbs
3.1 g
Fiber
0 g
Total Carbs
3.1 g
Protein
6.4 g
Fats
38.4 g
377 cals
#1 Low Carb & Keto Diet App Since 2010
Track macros, calories, and access top Keto recipes.
Ingredients
Heavy cream
1.67 cup
French Vanilla Zero Calorie Sugar Free Syrup
0.33 cup
Egg yolk, raw
2 large
Grass-Fed Beef Gelatin
2.5 tsp
Salt
0.25 tsp


Recipe Steps
steps 5
35 min
Step 1
Pour 1/3 cup heavy cream into a small bowl. Sprinkle (don't dump) the gelatin powder on top, and whisk together immediately. Set aside.Step 2
In a medium saucepan over medium-low, stir together the remaining heavy cream, vanilla syrup, and sea salt. Heat, whisking constantly, for about 5 minutes, until the mixture is smooth and bubbling near the edges.Step 3
Transfer the mixture to a bowl. Whisk together the egg yolks. Slowly pour the egg yolks into the mixture while whisking constantly to temper.Step 4
Add the bloomed gelatin to the mixture and whisk until smooth and dissolved. Let the pudding cool for about 10 minutes, until cooled enough not to melt plastic wrap to be placed over it. Whisk again to get rid of any film on top.Step 5
Cover with plastic wrap flush against the top to prevent a film from forming. Refrigerate for at minimum 4 hours, until firm. After the pudding has set, stir or whip with a hand mixer before serving, until the pudding is light and airy.


